Scopos no longer supports Orion Mobile App, including the ability to scan targets. Instead customers may use the all new Rezults at rezults.scopos.tech.
These instructions are intended for Range Officers (RO) who will be taking photographs of Mobile Friendly targets. Target photographs should be taken while they are still hung on the target frames, before athletes remove them. This is the recommended procedure for capturing target images of Large Format Targets.
These instructions assume the Statistical Officer has already added the RO to the match and correctly set his or her roles. See Creating an Orion Match to Score Mobile-Friendly Targets for more information.
NOTE, These instructions may be used with or without the Large Barcode Labels, whose QR code contains information about the athlete, stage, and stage number. The QR code information, along with the athlete and stage information the RO selects in the app for transmission is purposefully redundant. Orion uses both for assigning the target to the athlete.
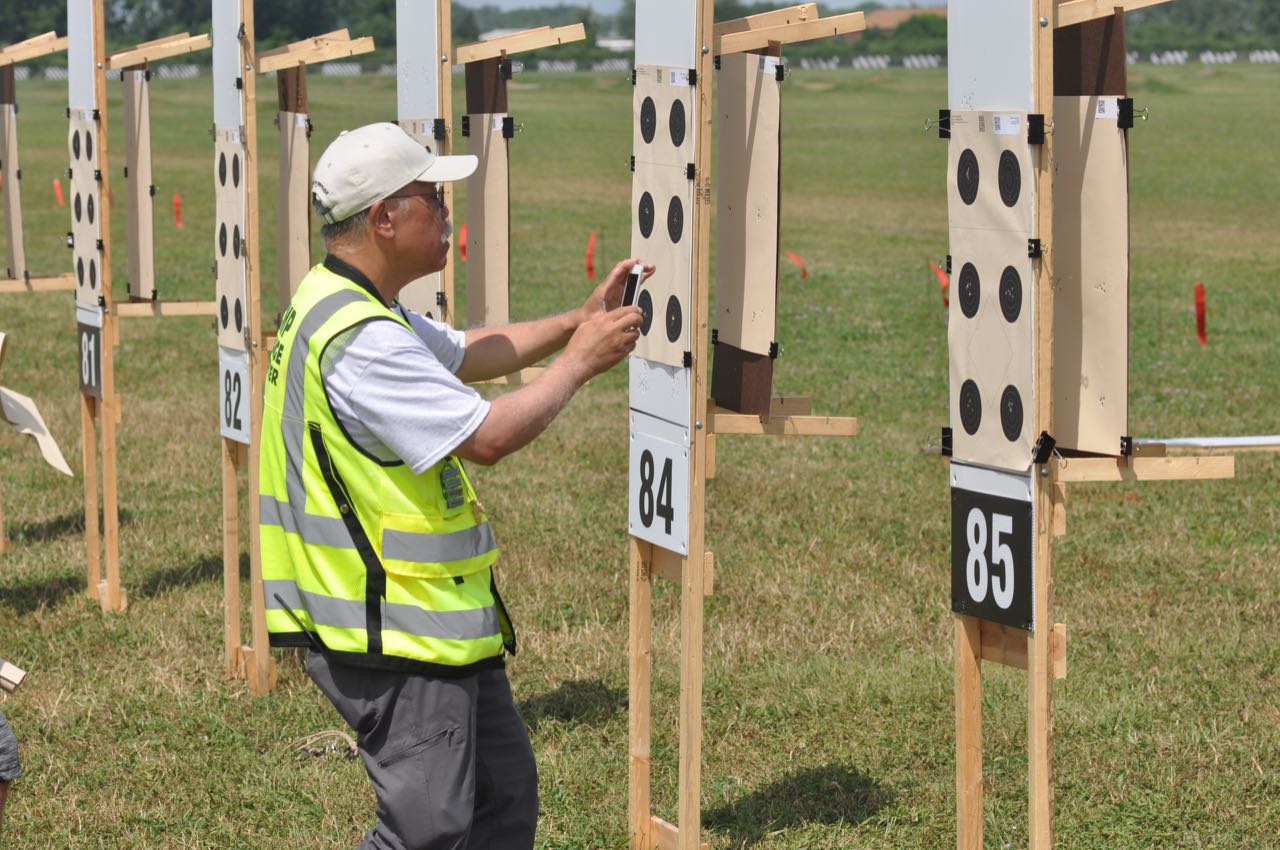
Before Firing Starts
1.Using your Mobile App credentials log in to the Orion Mobile App. Then open up the match, from the Home screen under MATCHES.
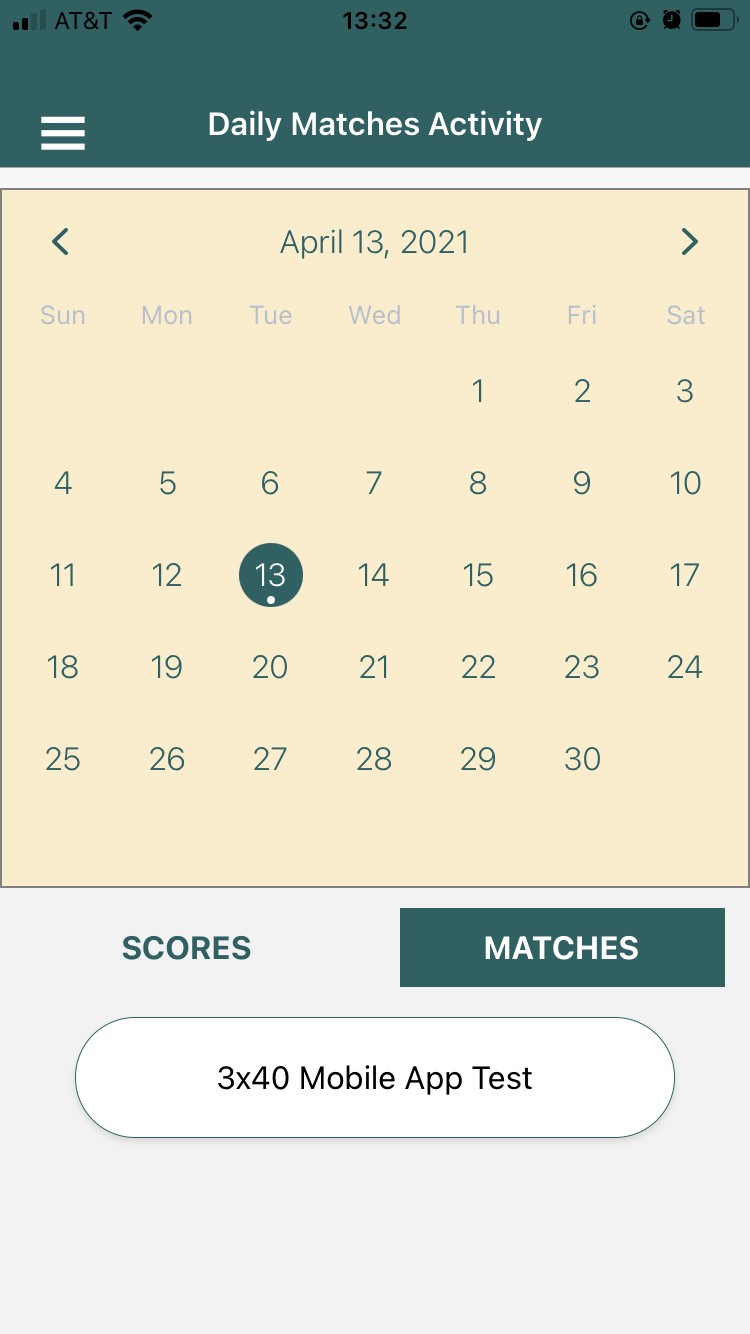
2.Set the firing points that you are responsible for. This will limit the list of athletes when you go to take target photographs.
a.From the match's home screen open Range View Options.
b.Set the Relay, starting firing point and ending firing point you are assigned to.
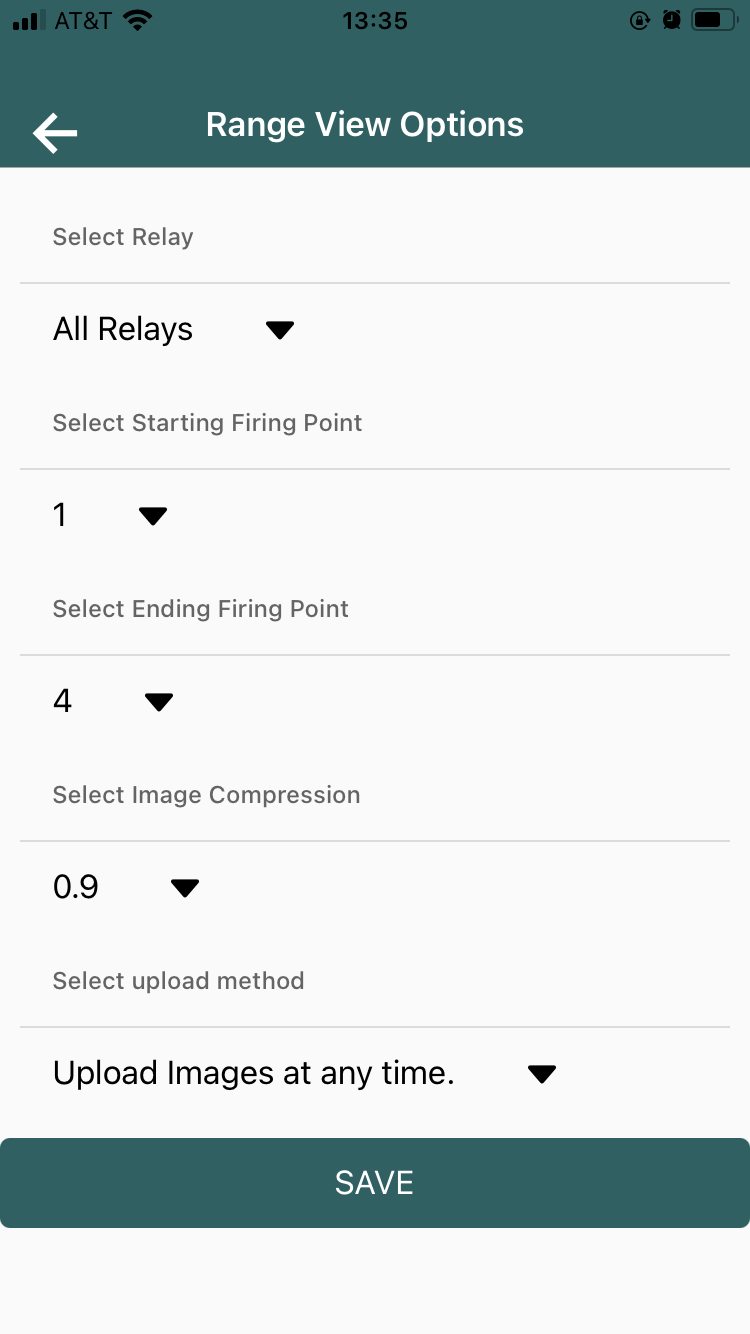
c.Click the SAVE button.
3.Open Squadding to view the athletes assigned to your firing points.
a.From the match's home screen, open View Squadding.
NOTE, this is a read only list, and is intended for your information.
Taking Target Photographs of Large Format Targets
Repeat this procedure after each target is shot.
1.After the line has been called cleared by the Chief Range Officer, proceed down range in front of the athletes.
2.Open the Take Target Image screen.
a.From the match's home screen, click on Take Target Image.
Note, the first time you open this screen the Orion Mobile App will ask to recreate the target order list. Make sure to click OK.
3.Confirm the Athlete, Firing Point, and Stage
a.At the stop of the Take Target Image screen, check that the athlete, firing point, and stage are correct. When the target's image is sent to Orion, this information is sent with it, helping to identify who shot which target.
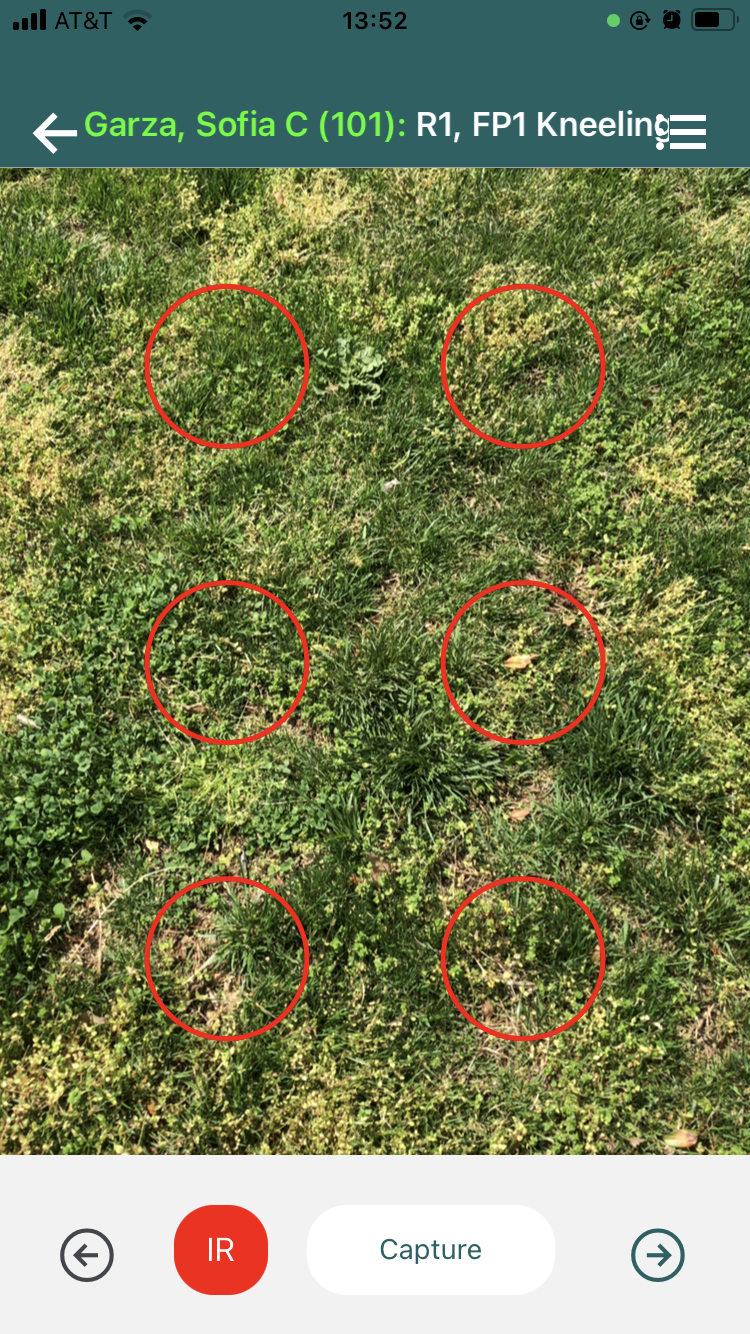
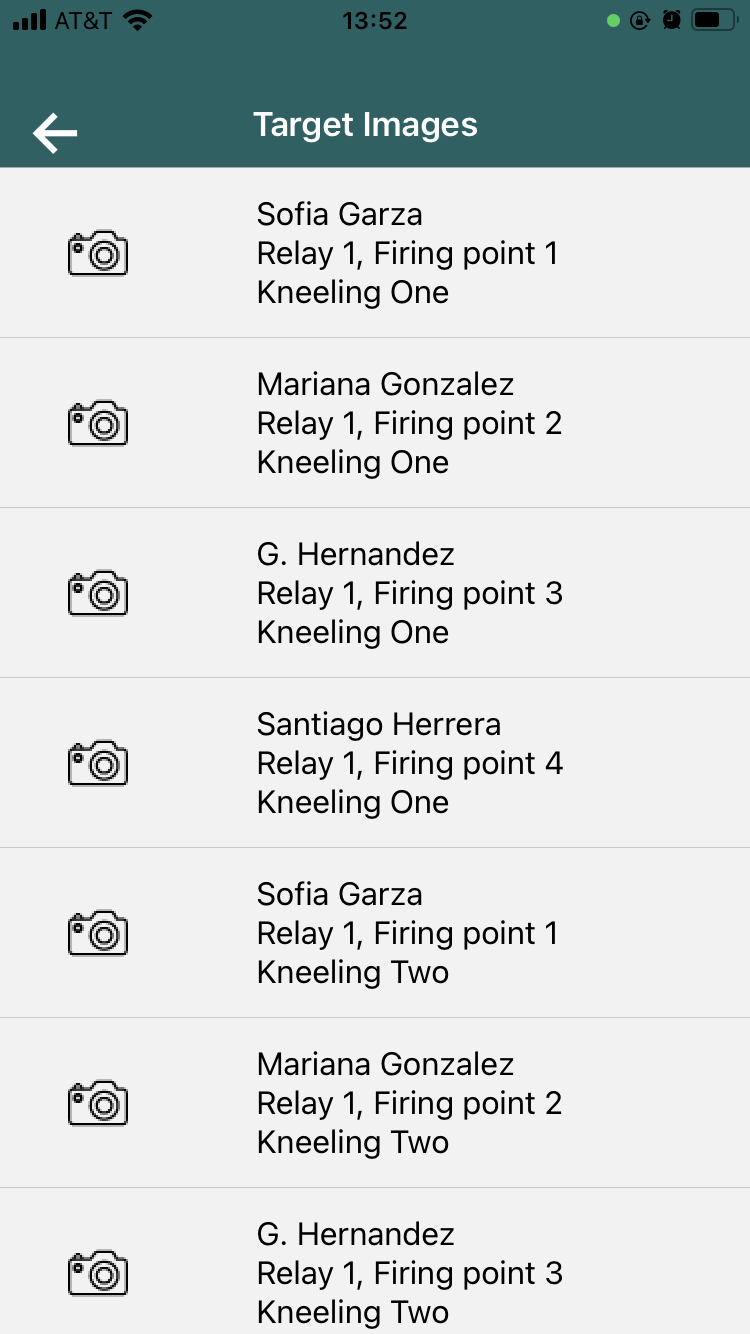
b.If it is not correct, use the menu selector in the upper right corner to select.
4.Take the target image.
a.Using the aiming bull guides, line up the aiming bulls with the phone. Get as close to the target as possible, while still capturing the entire area. The guides will not be a perfect fit.
b.Click the Capture button.
c.The photographed target will be displayed. Confirm or redo the photo before moving on.
i.To confirm and move on to the next firing point click the check mark. The app will automatically move to the next firing point.
ii.To redo the photo click the X mark.
5.The app will automatically upload images when there is a good Internet / WIFI connection. This can be checked on by clicking the same menu selector in the upper right of the Take Target Image screen. It will display which images have been uploaded. The app will also transmit the athlete's competitor number, firing point, stage, and stage number according to the app.
Optionally, Submit an Incidence Report
In step 3 above, before taking a target image, the RO has the option of submitting an Incident Report. This IR will get reported to the SO managing Orion.
To submit an Incident Report, click the IR button from the Take Target Image screen, then follow the choices to submit. Visit Submitting an Incident Report while taking a Target Photo for more information.
See Also