Firing Point Labels identify the firing point number for each Target and Monitor. They are included as part of each new Athena for Clubs order, or may be purchased separately.
Instructions for the Firing Point Number Plate on NC Model Targets
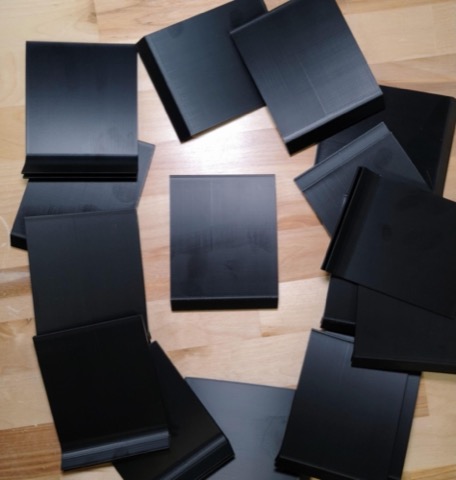
1. Remove the Firing Point Number Plate(s) from their respective packaging.
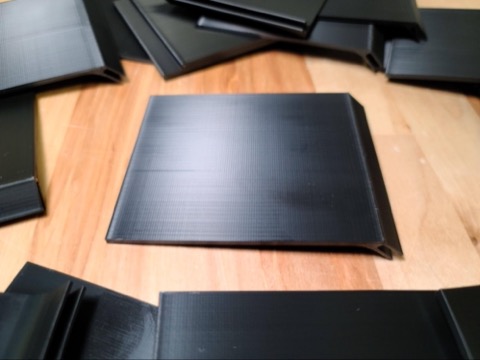
2. Face the keyed lip of the Firing Point Number Plate downward. This will create a small gap underneath the Firing Point Number Plate. The top is now the “front” of the Number Plate.
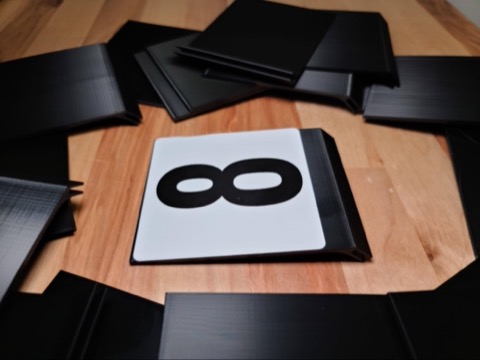
3. Apply the 3in by 3in Firing Point Number Sticker onto the front of the Firing Point Number Plate.
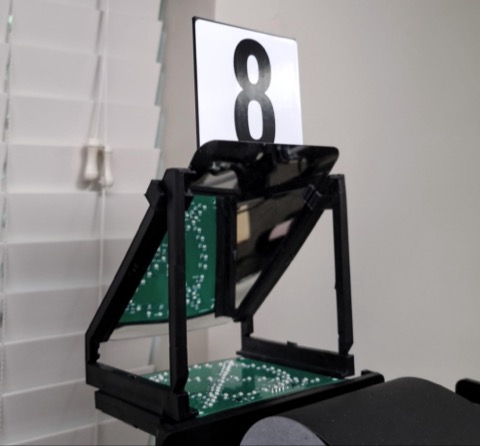
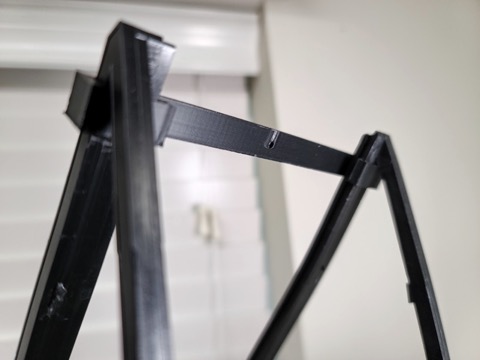
4. On the EST, find the X/O light board and mirror holder. Remove the mirror by sliding it out and up for Firing Point Number Plate installation.
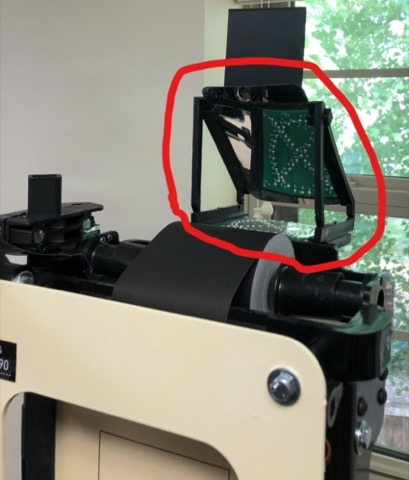
5. Above the Mirror holder is a stabilizer bar, attach the Firing Point Number Plate with the Firing Point Number Sticker onto the stabilizer bar, a soft click can be heard as the Firing Point Number Plate with sticker lock into the notch on the stabilizer bar.
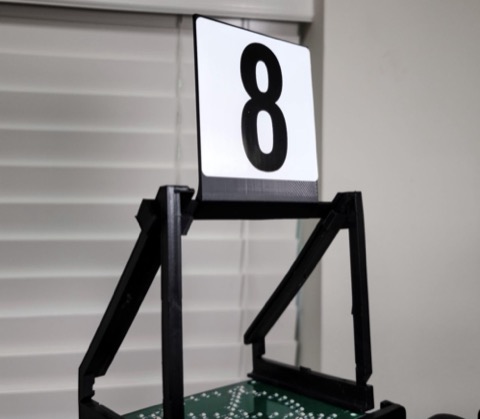
6. Replace the mirror. Adjust the Stabilizer bar with the Number Plate affixed for best view. The Firing Point Number Plate is now installed.