Cleaning and Replacing Backstop Foam: NC100 with Steel Pellet-Backstop.
Recommended Tool List: 2x 7/16ths wrenches 1x vacuum Safety goggles 1x face mask (<0.3 microns) 1 set of gloves |
|
Disassembly: |
|
Power Down and Unplug: •Power down and unplug the NC100 (Target). •Ground yourself to eliminate the risk of electrostatic discharge. |
|
Safety Precautions: •Wear safety glasses, a face mask (<0.3 microns), gloves, and skin-covering clothing. •Work in a well-ventilated area where lead and dust can be easily cleaned/ventilated. |
|
Remove Paper Target Material: •Clear any paper target material from the paper holder of the NC100. |
|
Locate and Remove Bolts: •Find the 4 bolts and nuts holding the steel backstop in place. •Remove bolts and nuts while holding the steel in place. |
 Location of Bolts holding the steel plate.
 7/16th wrench-Front of bolt
 7/16th wrench-Rear Nut |
Frame Bolts Removal: •Locate the 4 frame bolts holding the Target main frame. •Remove 3 to 4 nuts and back the bolts out till flush with the inside of the pellet trap. •Partially remove bolts to access the steel plate. |
 Bolt locations on Left Hand side of EST.
 Bolt Locations on Right Hand side of EST.
 Bolt Removed, Left hand side. |
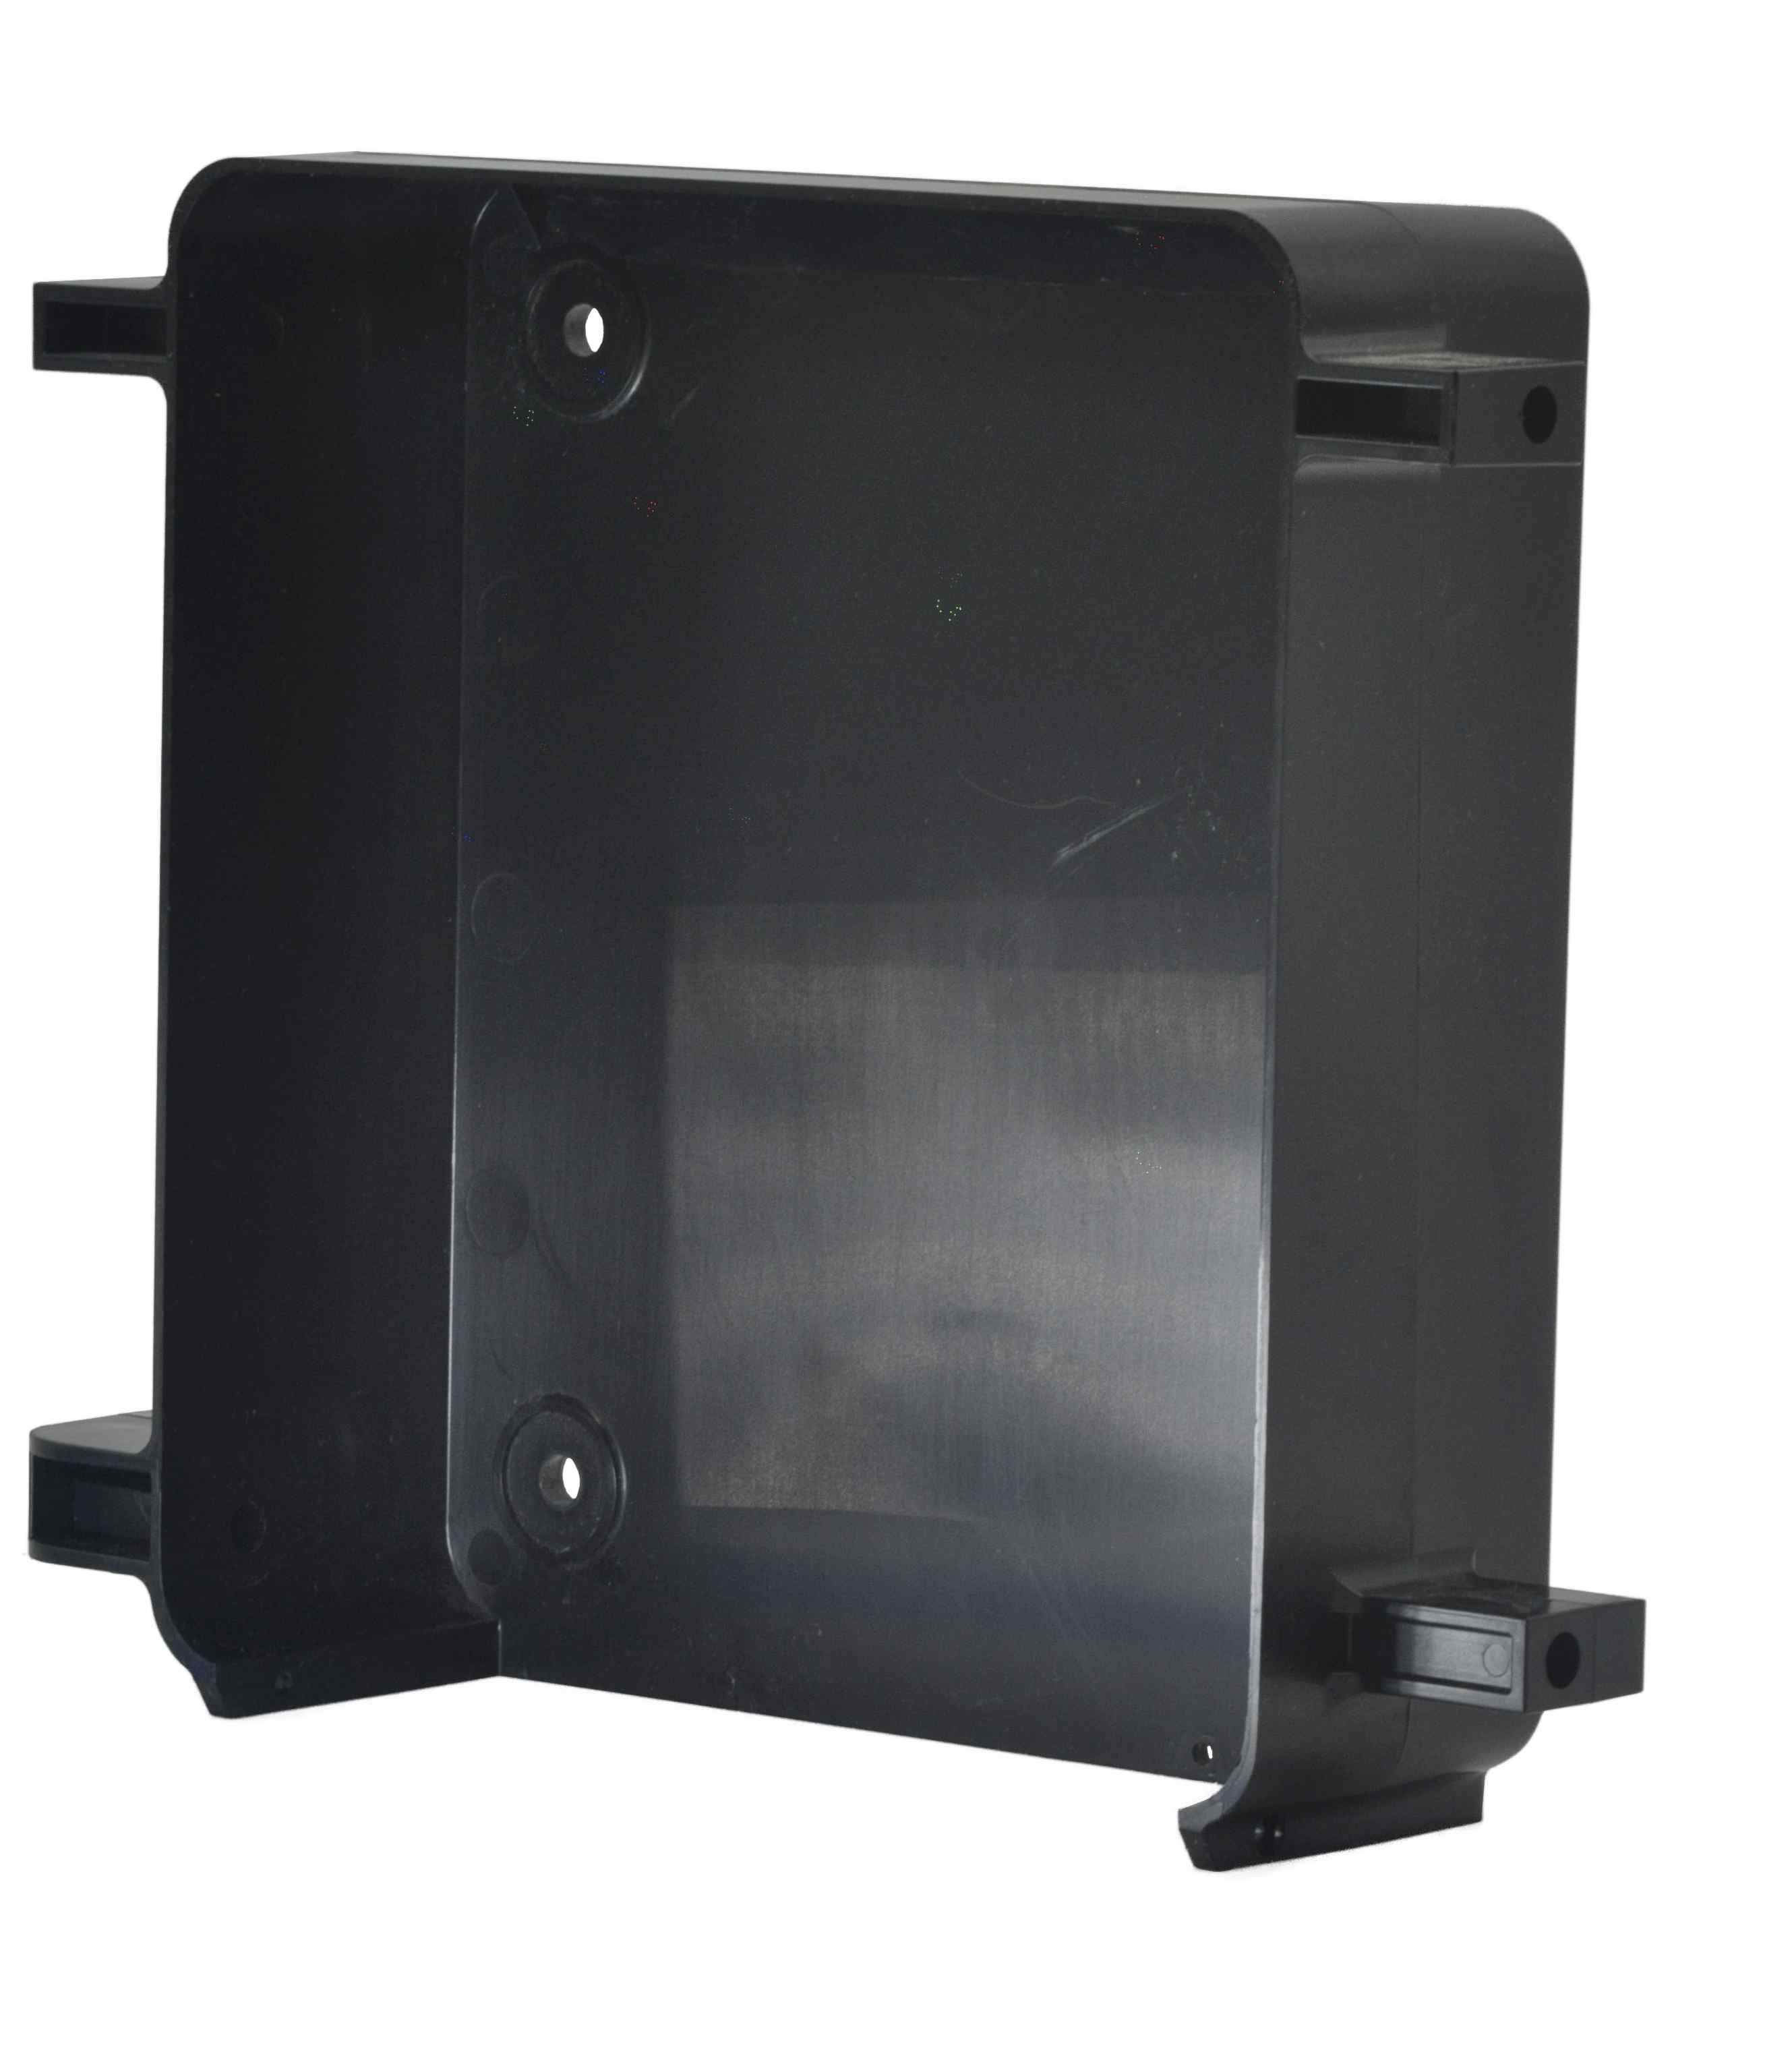
Steel Plate Removal: •Remove the steel plate, exposing the foam. |
|
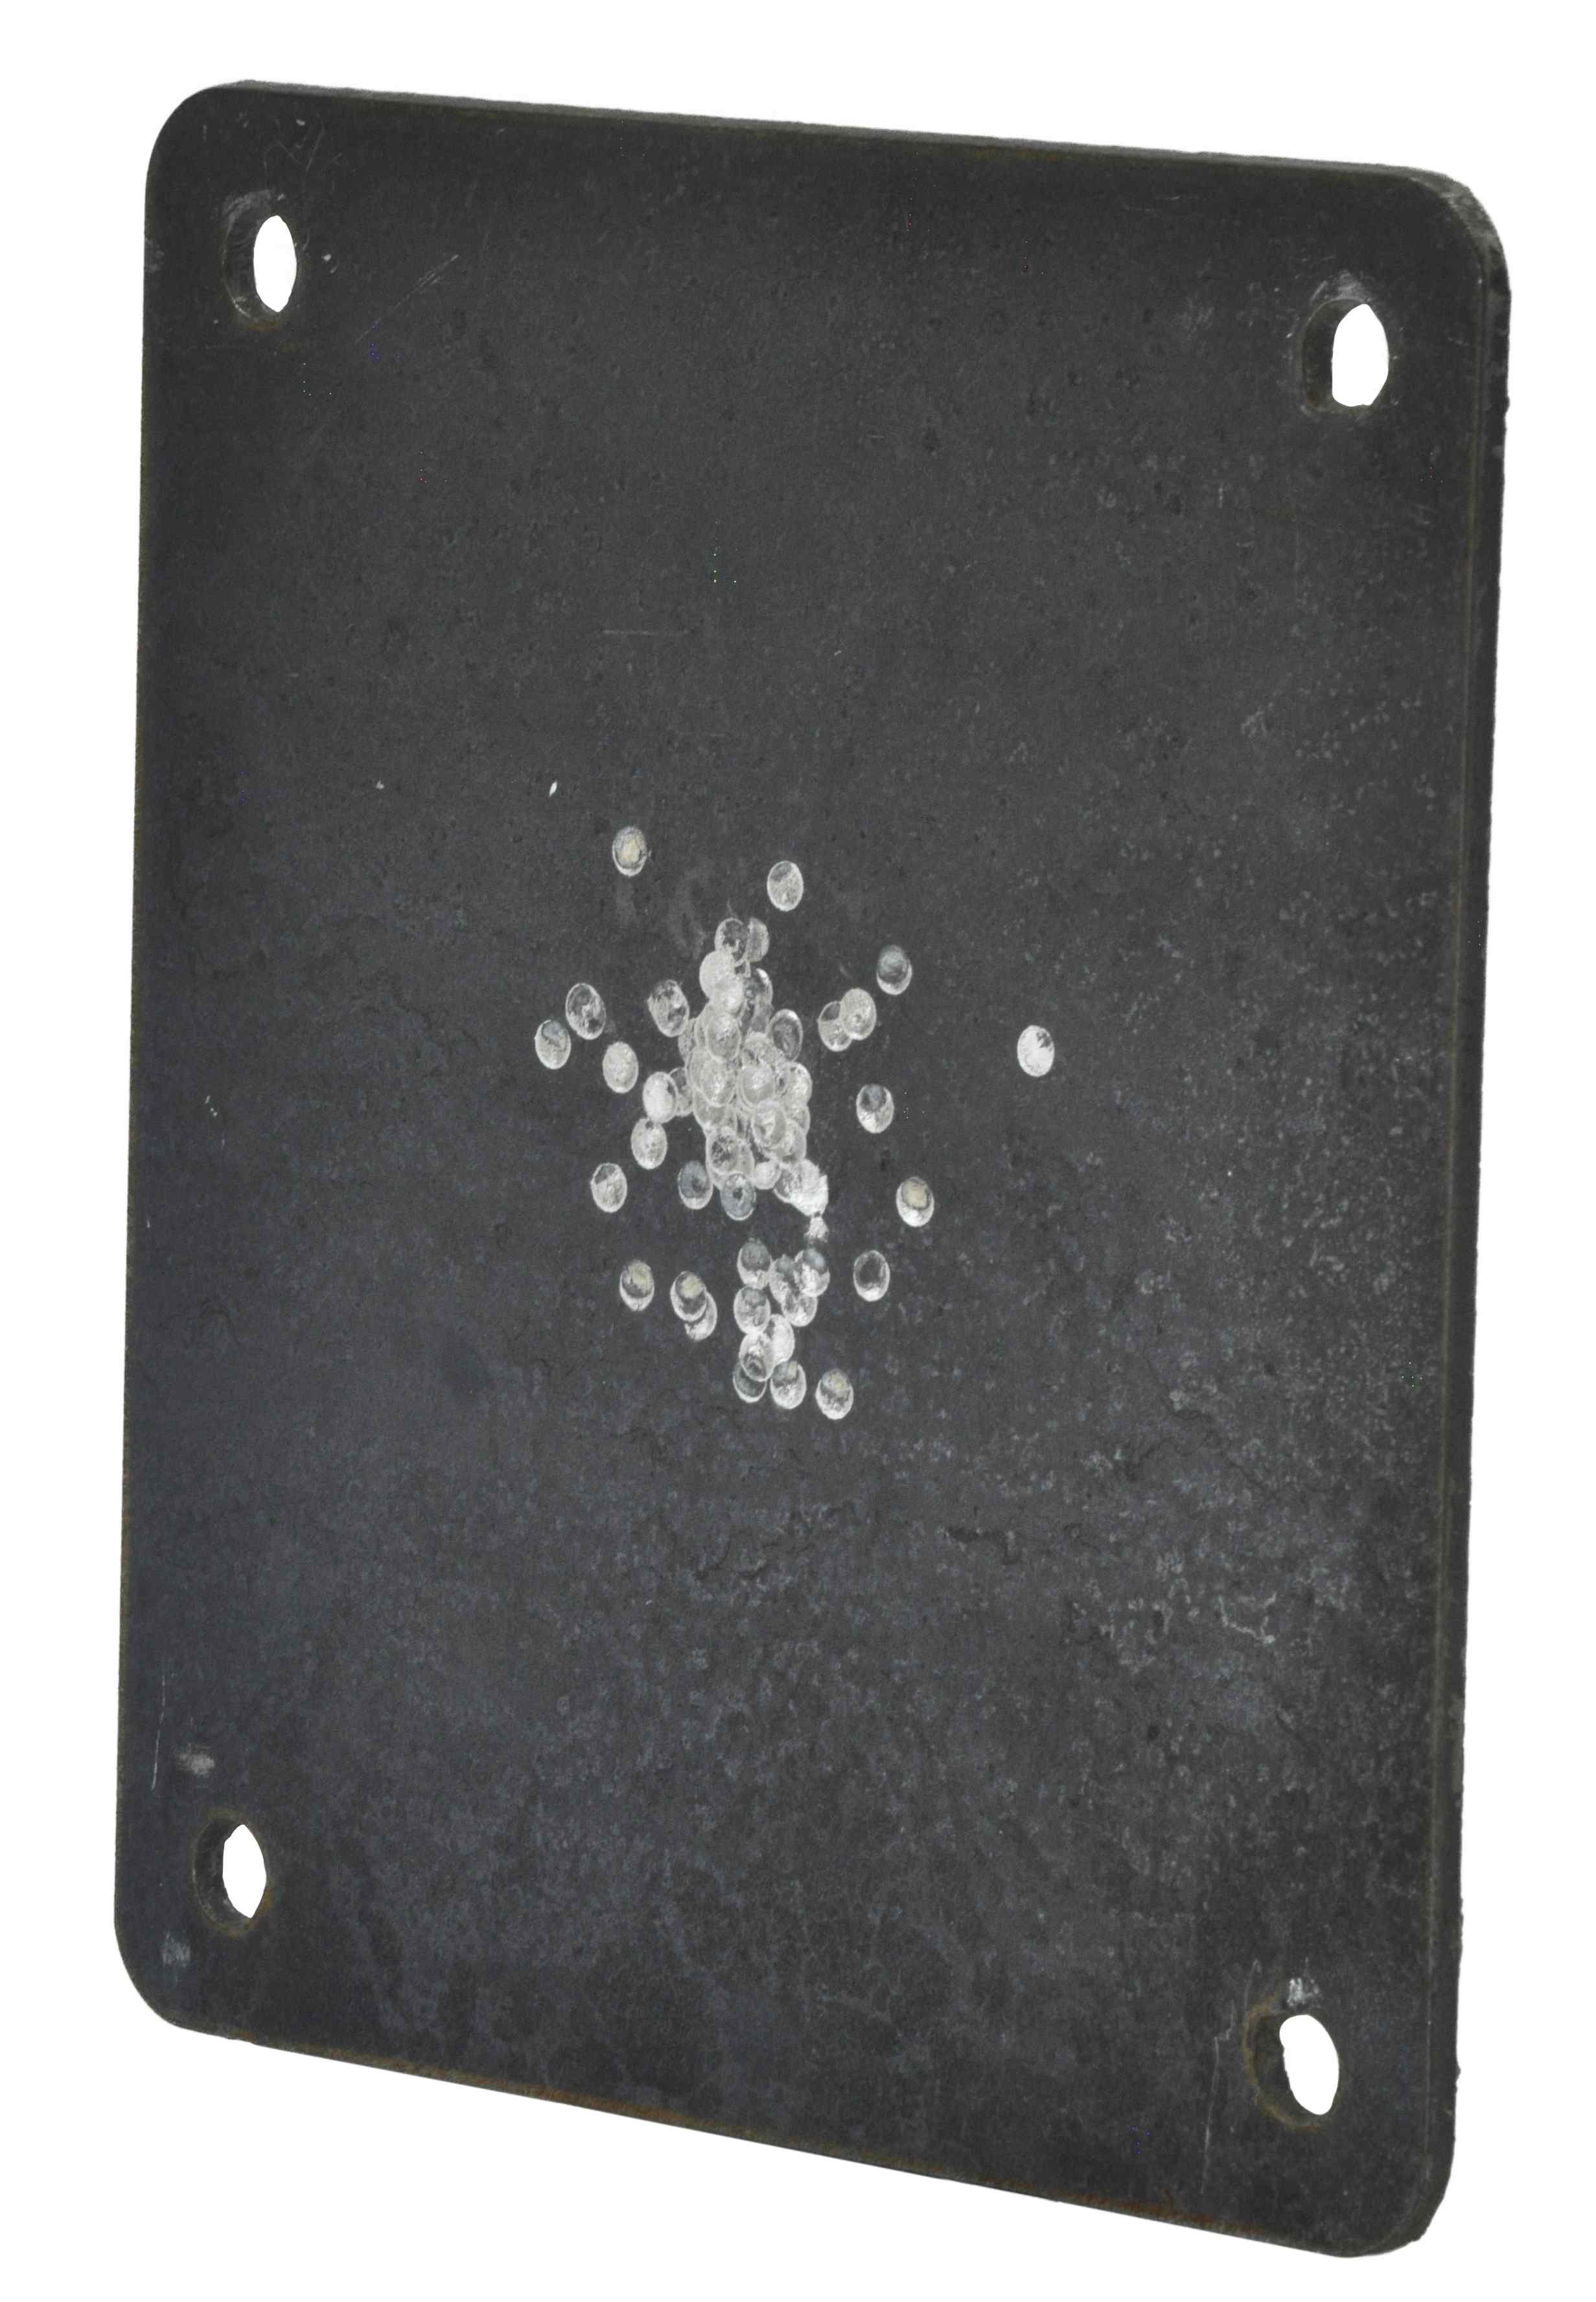
Inspect Foam: •Visually inspect the foam for pits, cracks, chunks, extreme density, or caked-on layers. •Check for any missing pieces. |
 Pellet buildup on Foam.
 on foam.") Rips and Tears (chunking) on foam. |
Cleaning (if required): •Vacuum the foam padding and surrounding areas. •Wipe down plastic and metal components to remove dust and debris. |
|
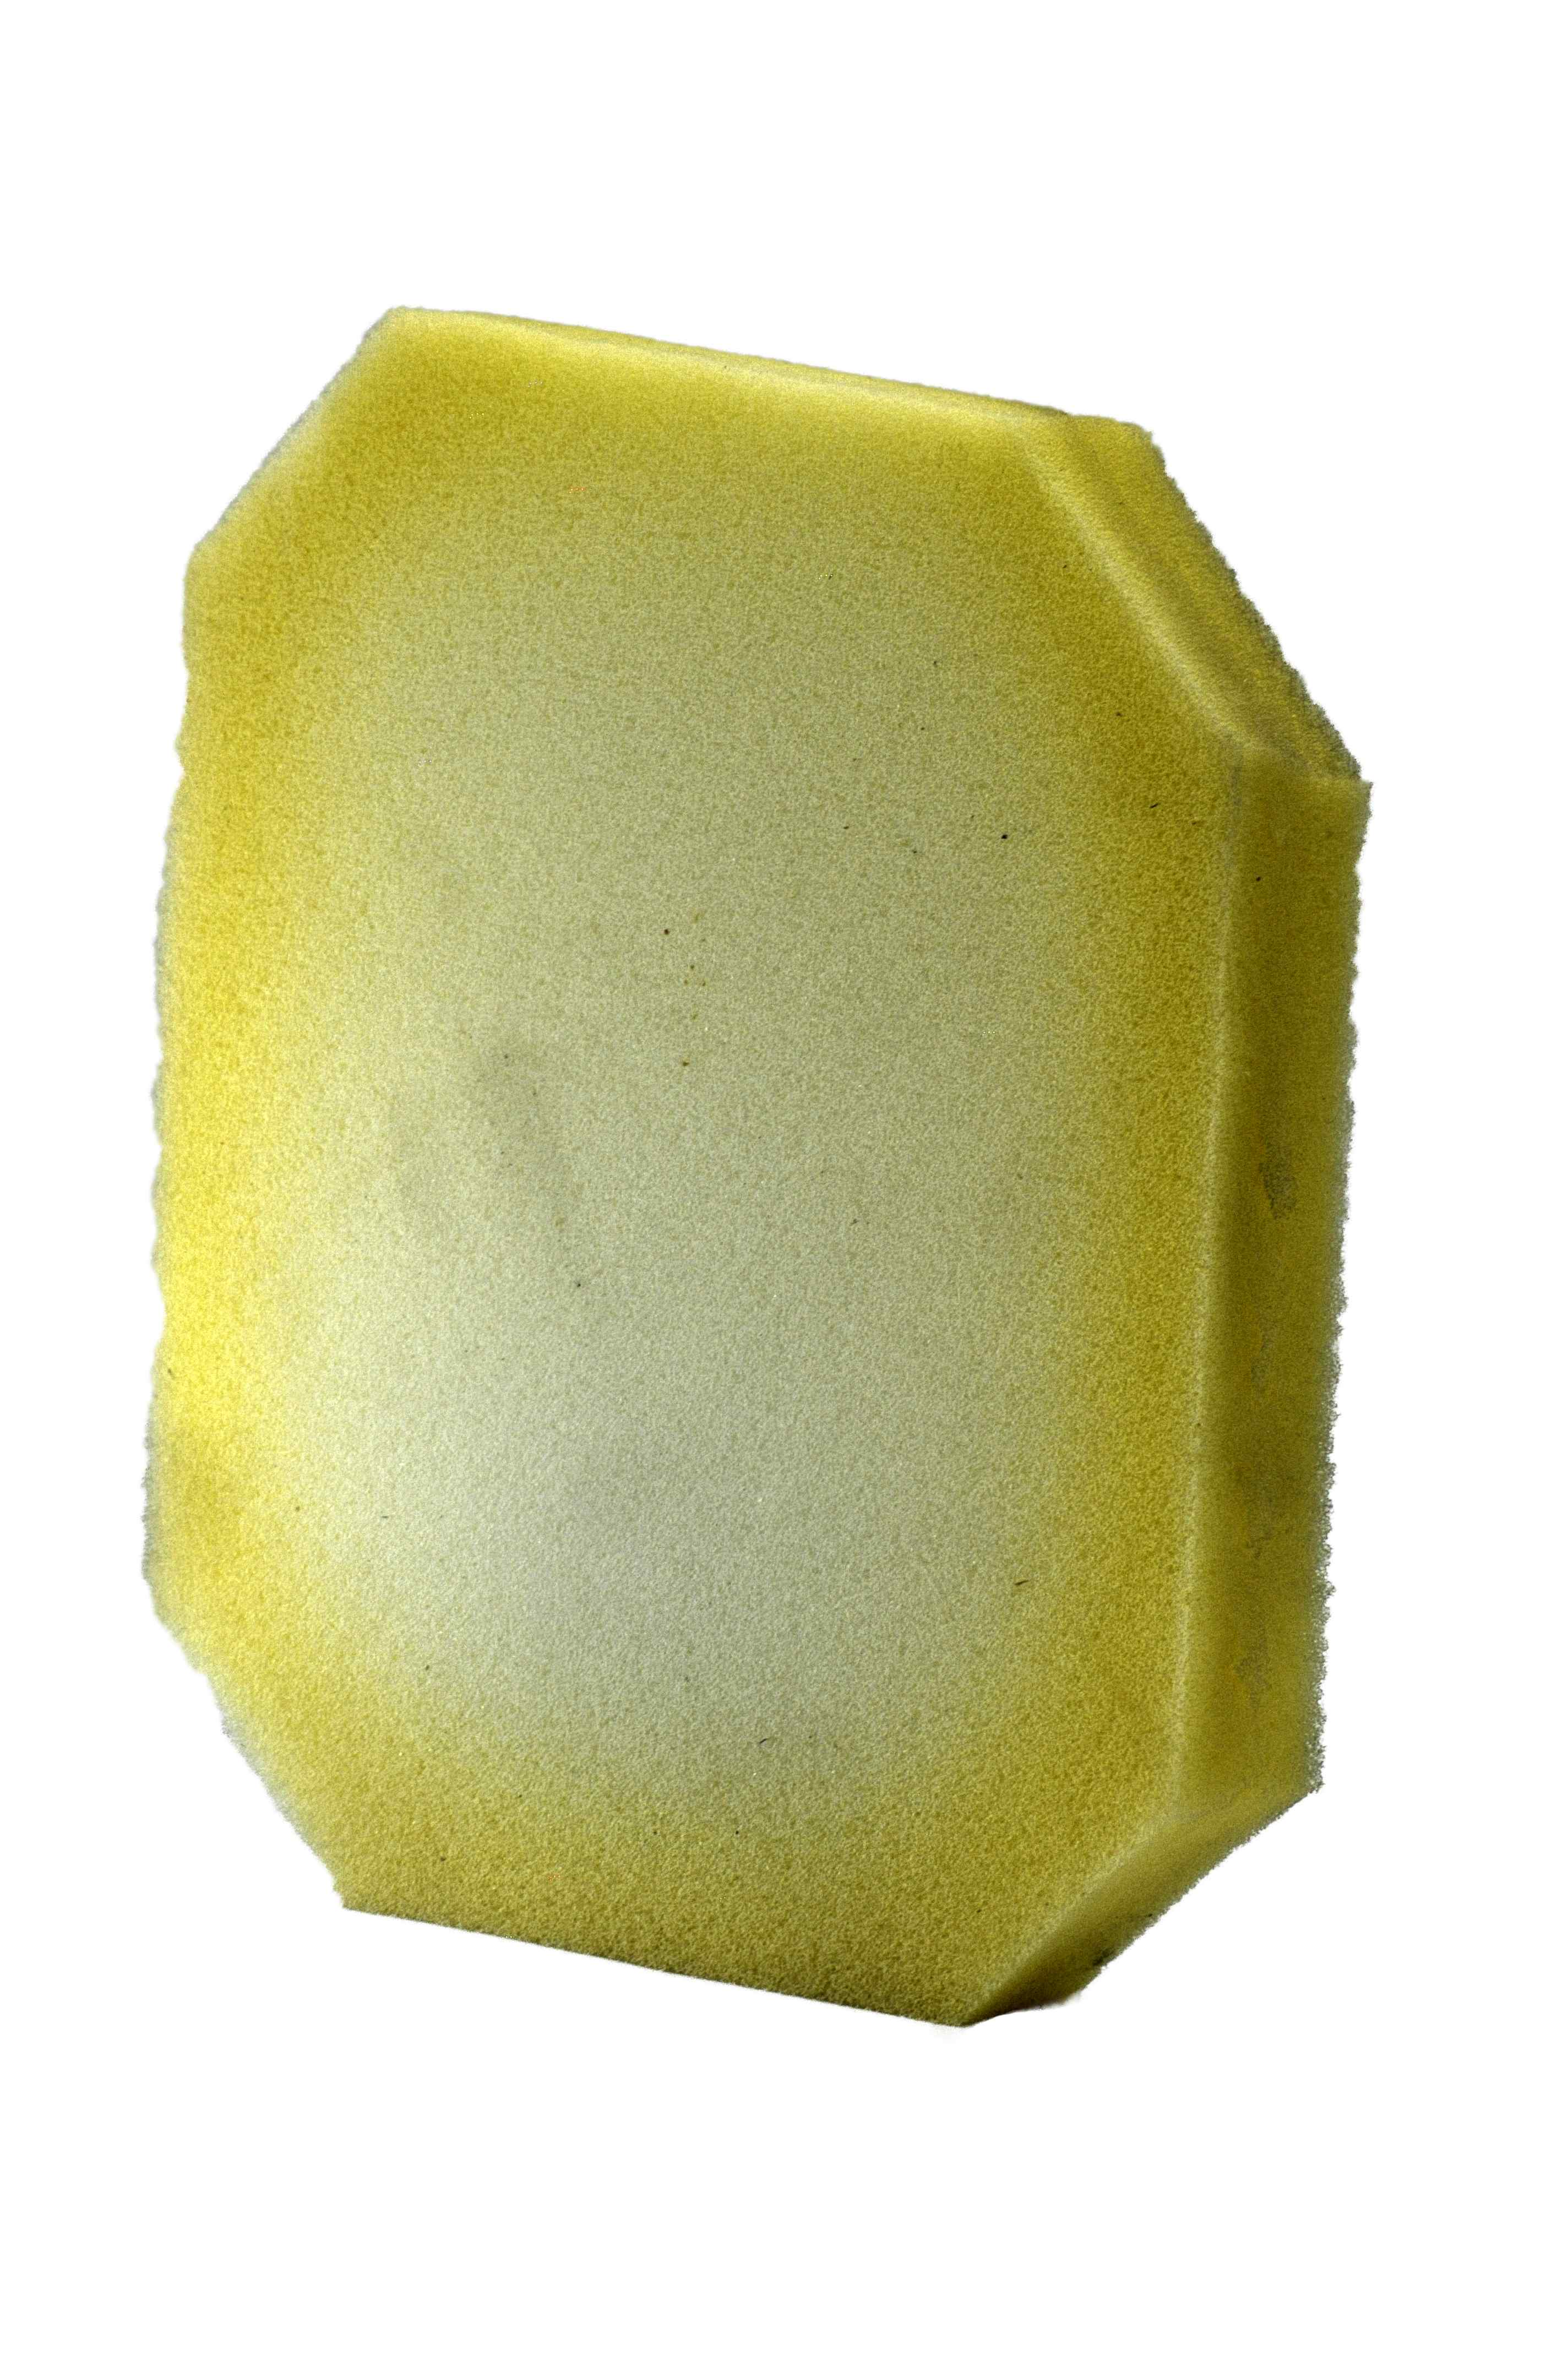
Foam Replacement (if required): •Remove the current foam padding. •Use a plastic scraper if necessary. •Wipe down components to remove loose dust and debris. •Adhere the new foam using adhesive (glue, tape, etc). |
.") Glue residue on pellet Trap (Behind foam).
 Cleaned up and re-glued Foam. |
Reassembly: |
|
Install Steel Plate: •Inspect the steel plate, if there is a cater where the bulk of the bullets hit the plate, turn the plate around. If you already turned the plate once before (there are caters on both sides) it is time to order a new steel plate and install it. •Hold the steel plate with one hand while guiding bolts through the holes. •Ensure bolts have a clear path through to the back of the target pellet trap. |
|
Reinstall Frame Bolts and Nuts: •Install Steel plate bolts, nuts, then the Bolts and nuts inside of the pellet trap. •Tighten snugly, avoiding over-tightening to prevent damage. |
 Bolt pattern for re-installation of steel plate. |
Secure Steel Plate: •Install rear nuts for the steel plate. •Tighten in series until the steel plate doesn't rattle. •Avoid over tightening to prevent damage to the trap. |
Securing Front Bolts into place.
Securing Rear locking nuts into place. |
Balance Spring Pressure: •Balance the spring pressure of the foam with the steel plate. •Adjust in slight increments to prevent over-compression of the foam. |
.") Correct visual of rear Nut secured into place (Proper spring pressure).
 of rear nut being secured into place (Inproper spring pressure).") Incorrect Visual (nut not secure against Trap) of rear nut being secured into place (Inproper spring pressure). |
Complete. |
|
Your NC100 with the new or cleaned backstop foam is ready for use. Ensure all components are securely in place and perform a functionality check. |
|