Scopos no longer supports Orion Mobile App, including the ability to scan targets. Instead customers may use the all new Rezults at rezults.scopos.tech.
Calibrating your mobile device's camera is essential to the accuracy in scoring targets via the Orion Mobile app. Every camera, no matter how good or expensive it may be, will have some level of distortion in the photographs they take. This distortion, if not removed, can lead to inaccurate scoring. Thankfully a camera's distortion can be measured and removed. The process to measure a camera's distortion is called calibration and it is described in this article.
Calibration is not difficult and does not need to be repeated Calibration must be performed once per Orion Club. Meaning: if you are trying to score targets at multiple clubs who use Orion Scoring system, you will have to calibrate once at each club.. This process is performed by taking about twenty photos (using Orion Mobile) using various calculated angles. Follow below to find out how to calibrate your device.
There are a few steps before you get started:
First, you will need your Calibration Board. There are two to choose from. In either case make sure the calibration board lays flat and does not become warped. We recommend storing the boards in a safe space so it does not get damaged.
•"Large Calibration Board" is a letter size 14 x 18 checker board (SKU: TAR003F).
•"Small Calibration Board is a seven inch square 7 x 6 checker board (SKU: TAR56).
Second, you will need a well-lit environment (Orion Mobile requires at least 2000 lumen to score targets properly.) that is not in direct sun light. Too much direct light, including direct sun light, causes glaring on the Calibration Board's inked surface. This can cause the calibration to either take a long time or fail altogether. It is best to take the calibration photos outdoors but under a shaded area (or with overcast skies).
Third, make sure you are on the latest version of Orion Mobile. Photos must be taken using the Orion Mobile application, not your normal camera application.
We also recommend placing the calibration board on the back side of a 50m / 50yd. target. This both helps with any potential glare, and it also helps frame the photo. In the image below we are using a shot backer, which is just as effective.

Taking Calibration Photos:
These photo series will be taken in sets of threes so there is no confusion (feel free to take them all at once if you are confident). When taking the photos, please make sure the entirety of the calibration board is in the photo.
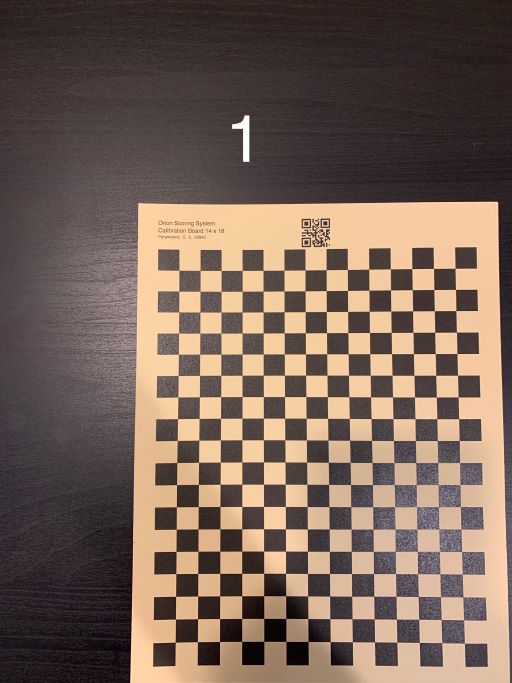
First Set - Photos 1-3: Hold your device at a 180º angle (Flat, directly above the Calibration Board).
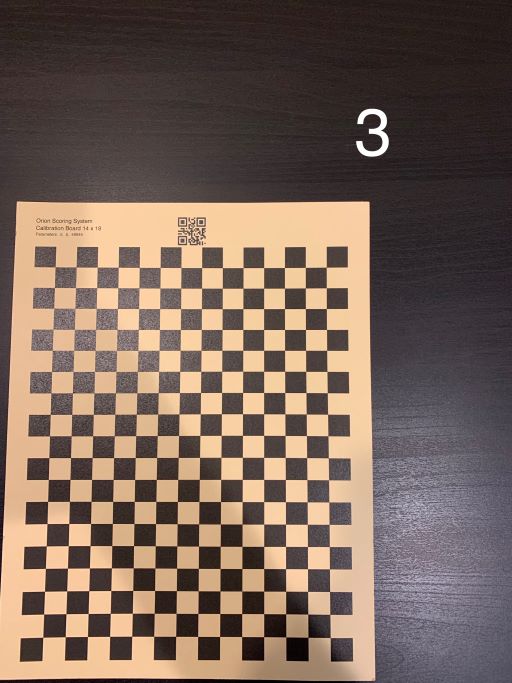
Align the camera viewfinder so the bottom right black checker box is aligned with the bottom left of your viewfinder. Take Photo 1.
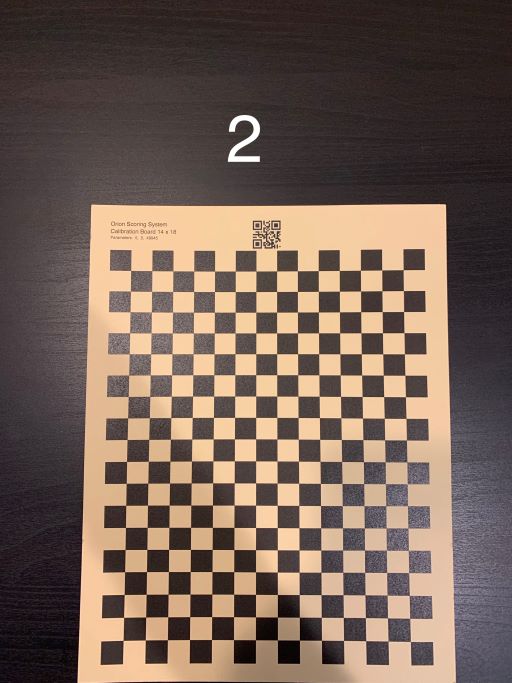
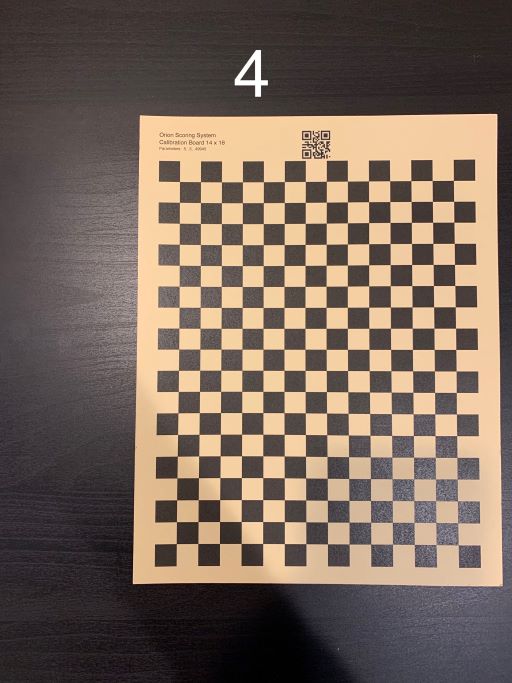
Position the camera so the two bottom black checker boxes are in the bottom-middle of your viewfinder, evenly from each corner. Take Photo 2.
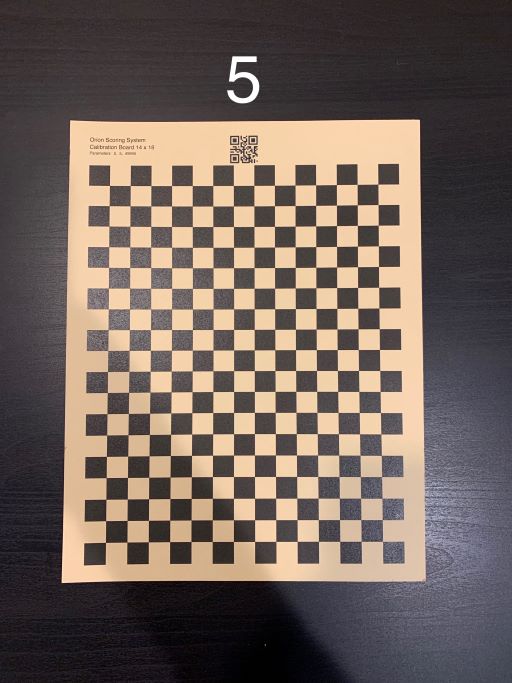
Position the camera so the bottom left black checker box is aligned with the bottom right of your viewfinder. Take photo 3.
|
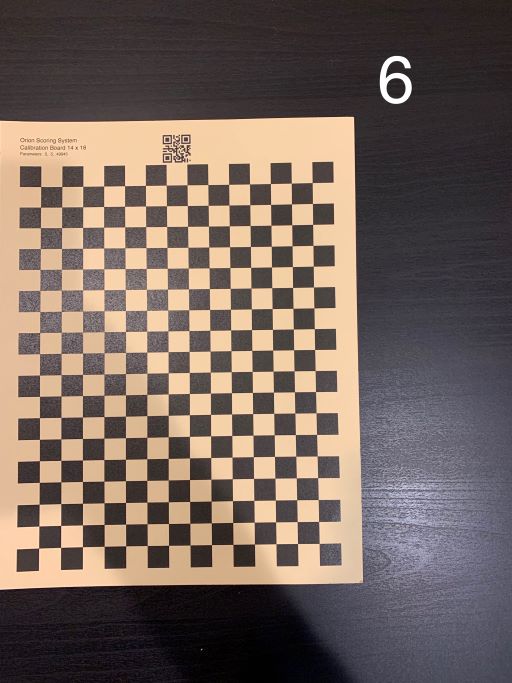
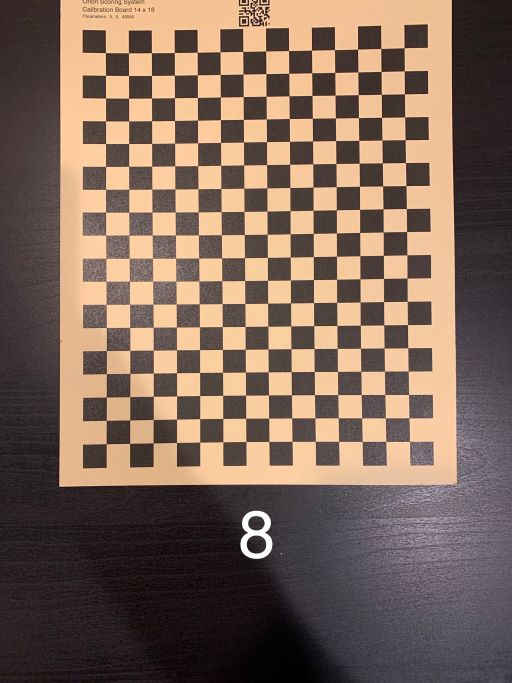
Second Set - Photos 4-6: Keep device at 180º angle.
We will repeat the first set of photos, however, half-way down the board (these three photos should be of the middle). Take all three photos.
|
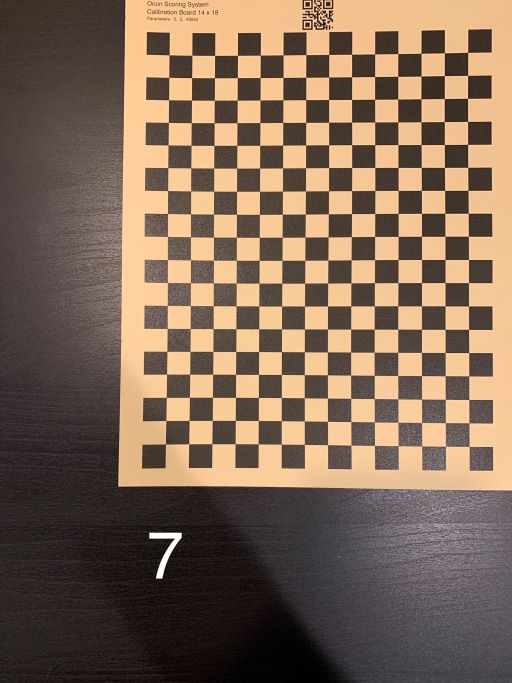
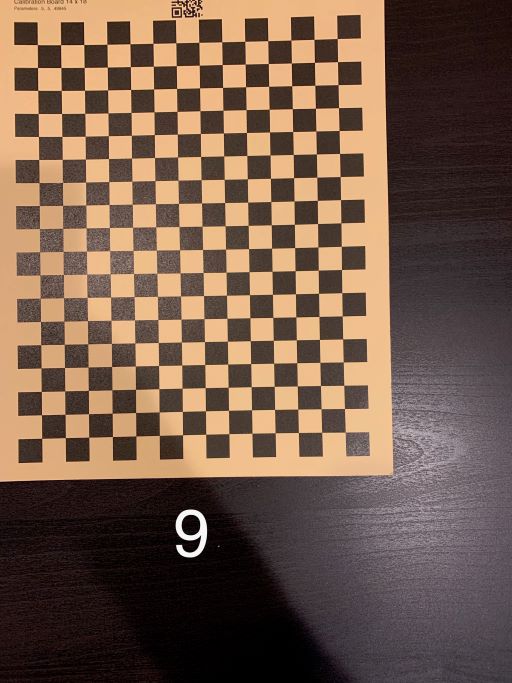
Third Set - Photos 7-9: Keep device at 180º angle.
Repeat same three photos from the first two sets, however, move the camera down so the bottom of the board is close to the middle of the viewfinder. (These three photos should be of the bottom). Take all three photos.
|
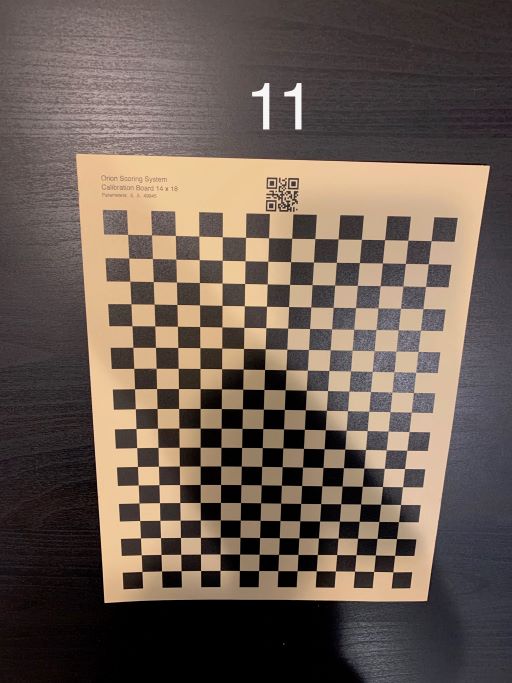
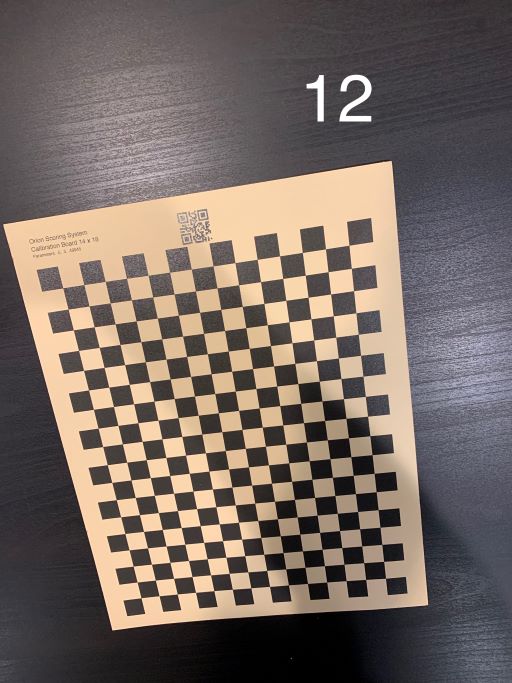
Fourth Set - Photos 10-12: The next set of photos will be of angles.
You will want to imagine your Calibration Board has a dome above it. You will want to angle each of the following sets according to this virtual dome.
Hold device as described. Repeat the same area of photos as Set 1, above (whereas the top of the Calibration Board is near the center of the viewfinder, aiming down).
|

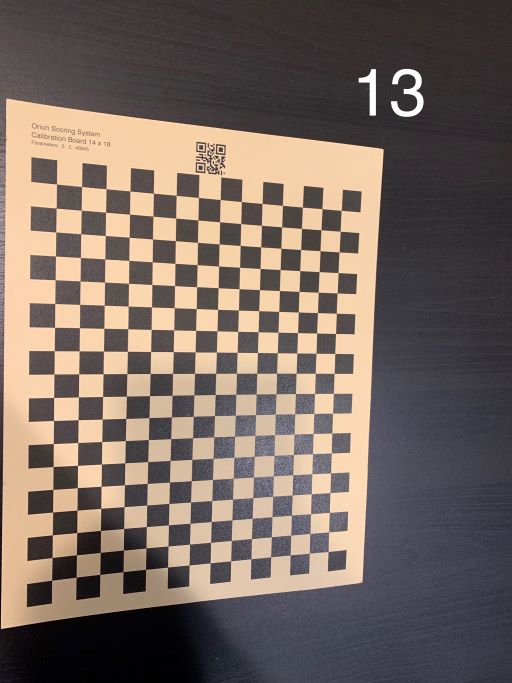
Fifth Set - Photos 13-15: Hold device as described above.
Repeat the same area of photos as Set 2, above (whereas the middle of the Calibration Board is almost centered with the viewfinder).
|
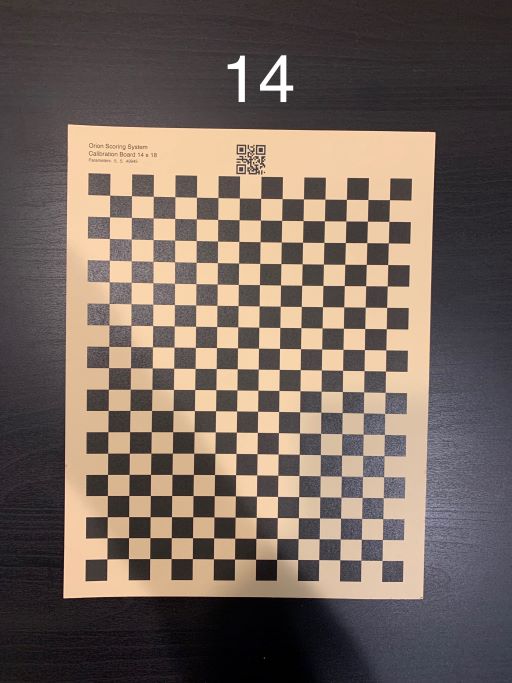
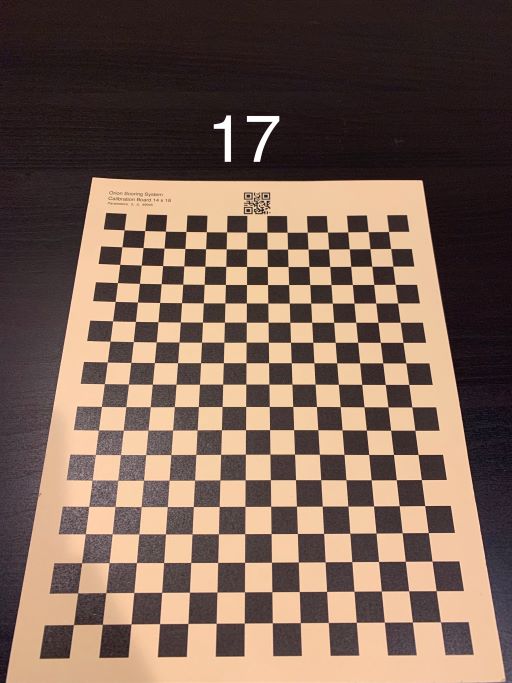
Fifth Set - Photos 16-18: Hold device as described above.
Repeat the same area of photos as Set 3, above (where as the bottom of the Calibration Board is near the center of the viewfinder, aiming up).
|

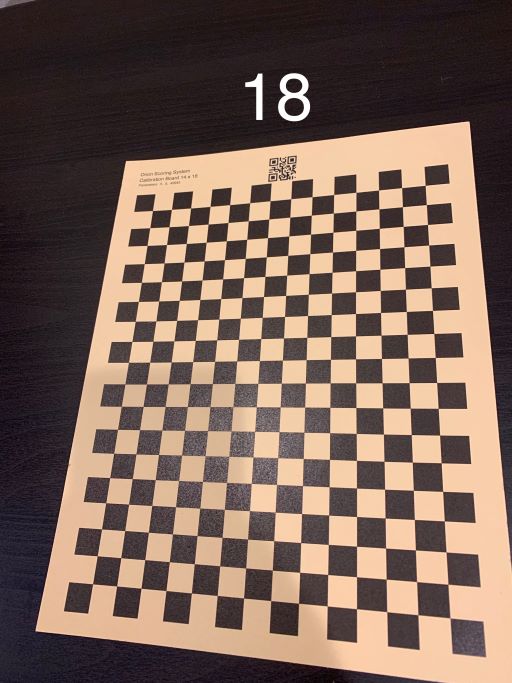
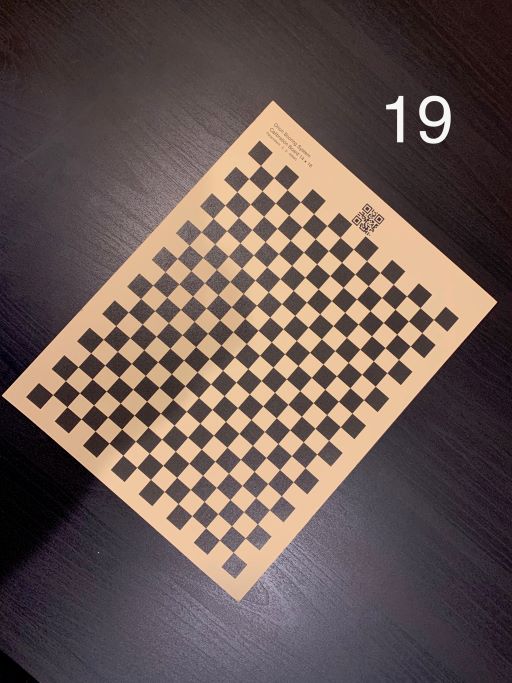
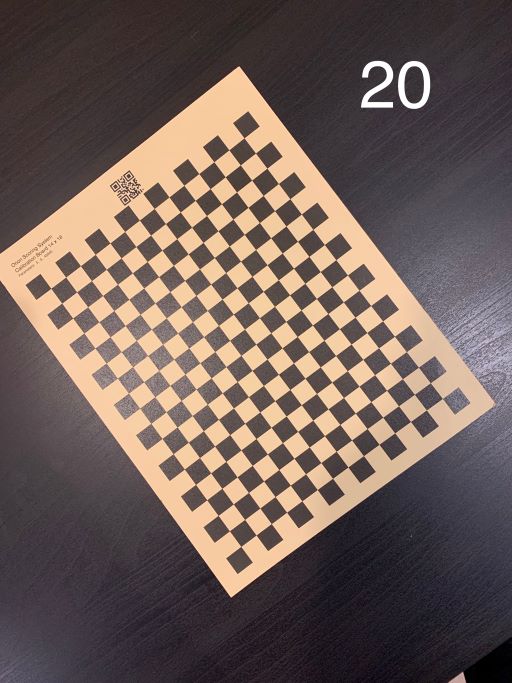
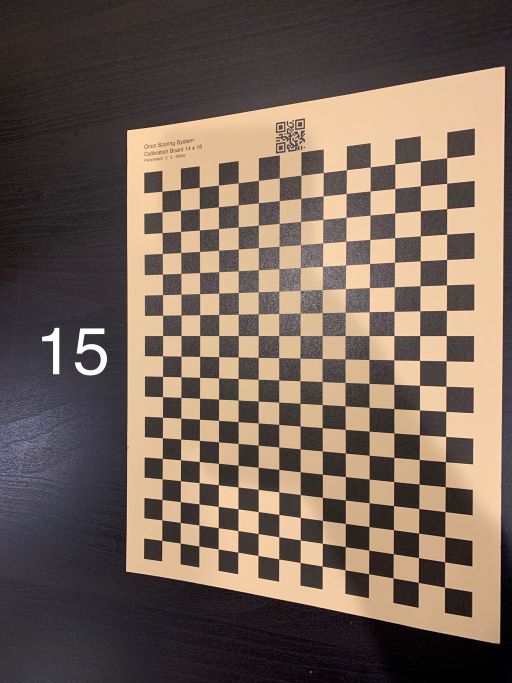
Sixth Set - Photos 19 & 20: These last two photos will be taken from the same position as image 5 (above), directly over the calibration board.
Both photos are taken with the phone pointing directly at the calibration board. Take one photo with the phone turned 45º counter-clockwise. Take the second photo turned 45º to the clockwise.
|